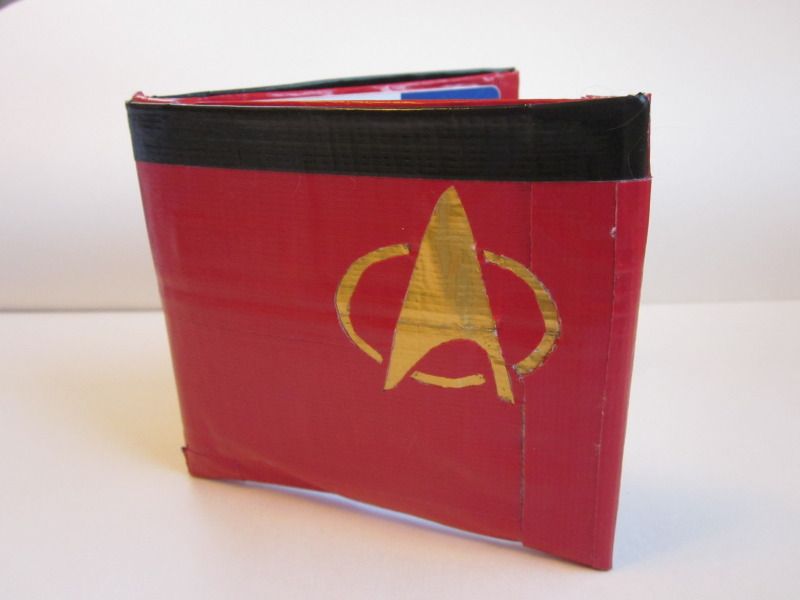
As an artist, and a professional time-waster, I have spent a lot of time looking through different artistic websites looking for inspiration and ideas. I have seen a lot of nerdy duct tape wallets (My favorite so far being the Sailor Moon Tiara ones!) but I had found a significant lack of Star Trek uniform ones, so I made my own. I've gotten a little bit of criticism for making a red shirt wallet, because they all die in the Original Series, but they are THE BEST in Next Generation, and what with being in love with Riker and all- I HAD to make a red shirt.
Mine didn't turn out -as- nicely as I'd have liked, so instead of listing it, I'm being nice and making a tutorial.
Note: This tutorial is only for the process of making the Starfleet symbol, for the rest of the instructions, you can follow my duct tape wallet tutorial here.
Well, let's get started, shall we?
What you'll need:
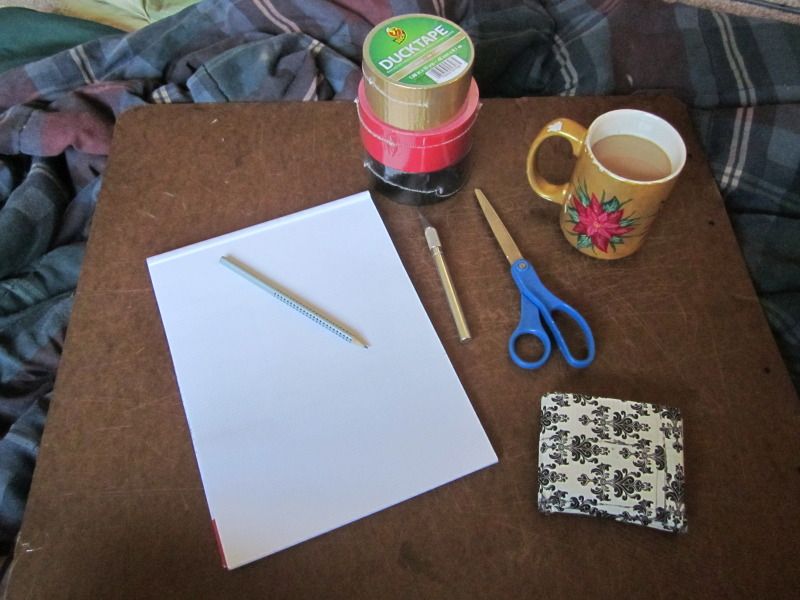
- Scissors
- X-acto knife
- Paper and pencil to draw out your Comm Badge, or if you're less artistically inclined, have one printed out at the right size (More on how to figure that out in a minute).
- Your current wallet! You will use it asa guide for credit card slot sizes, etc. (More details about that in my Duct tape wallet tutorial.)
- Coffee, as usual.
How to do it!
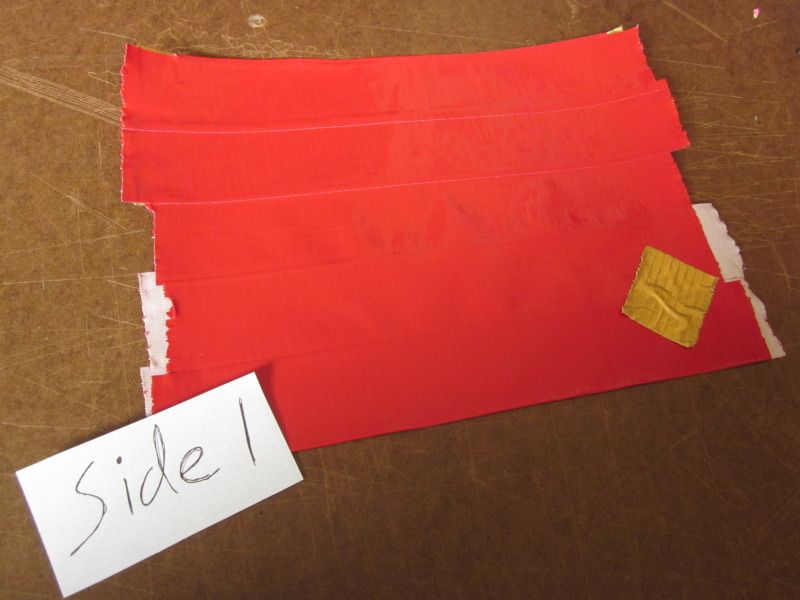
First, you're going to be making the sheet of 'fabric' for the wallet itself. One side is going to be completely COLOR A, and the other side is going to be about 2/3rds COLOR A and 1/3rd Gold. Your sheet should be at least 7" by 7". Mine is a bit bigger, because you're going to want the extra room for when you put your Com Badge on. If your COm Badge is too small, it will be VERY tough to work with. So give yourself some breathing room.

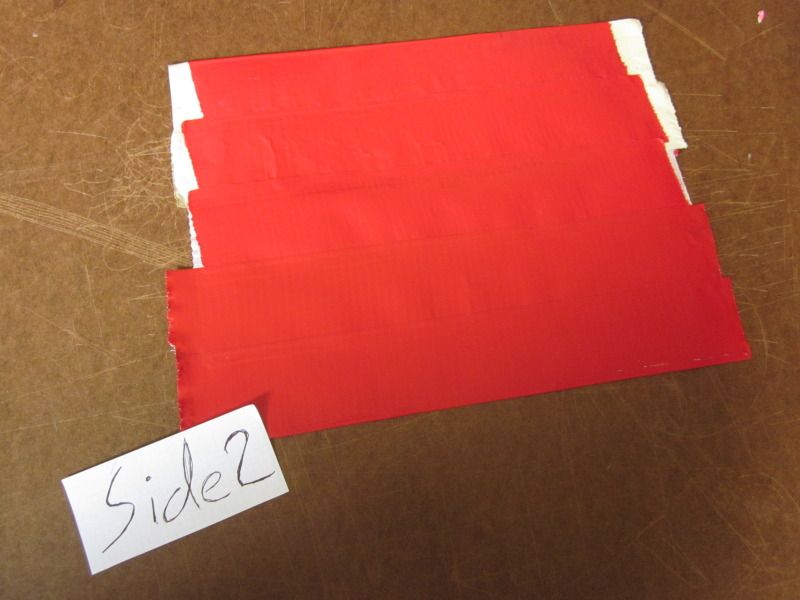
Next, you'll wanna cover the gold on Side One with COLOR A. Since both your sides should look identical now, use some kind of indication to keep track of what side is Side One. I just used a scrap piece of gold duct tape.
Now you're going to finish putting your wallet together. Make sure SIDE ONE is facing outward. That is where the gold is, and you will be cutting through the red to reveal your Com Badge, so having it on the outside is the only thing you need to worry about here.
Again, if you need a reminder of how to make a Duct tape wallet, you can find my tutorial here.
So, now that you've made your wallet, you're going to be figuring out how BIG your combadge needs to be. To do this, Take your shiny new wallet and have it in the folded position. Place it on a piece of paper and trace it.
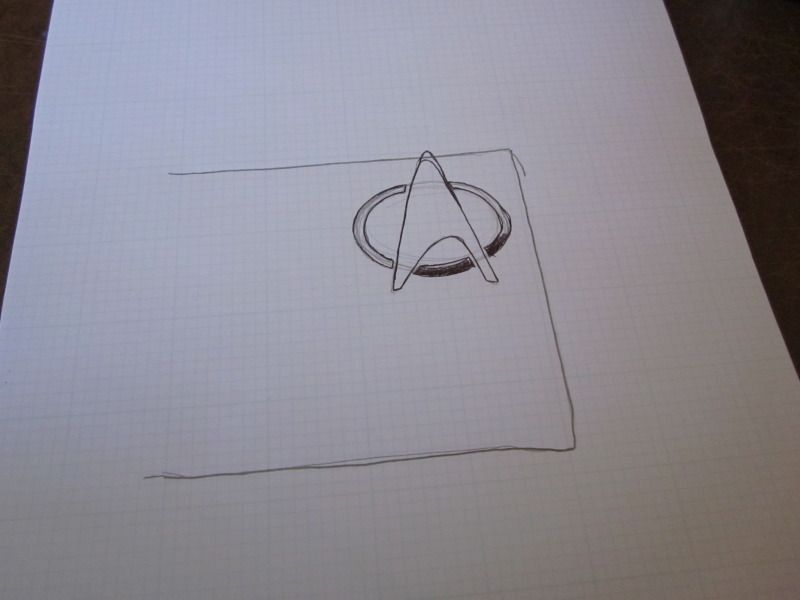
Now draw in your Com Badge about where you want it. It should be at least 1" x 1", if not slightly bigger. If this is not your strong suit, go ahead and print out a Com Badge, but lay it down on your wallet and/or the sketch you made of your wallet to be sure it's the right size.
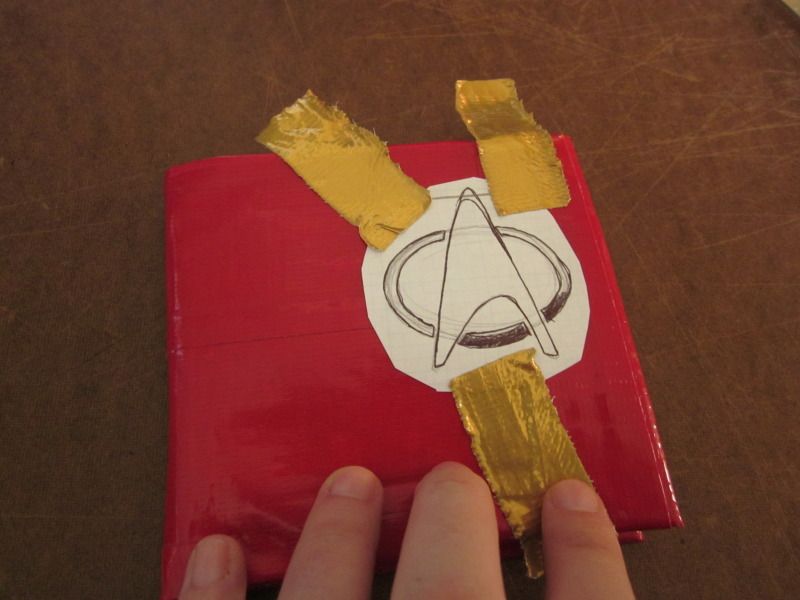
Once you're happy with it's size and quality, tape it down on the front of your wallet where you want it to be. Leave about 1/2" of room on top for the black stripe, and don't put it exactly on the edge. Once it's where you would like it, tape it down so it's secure.
Using your X-acto knife, cut along the lines. Be sure to cut deep enough to get through the paper and through as many layers of COLOR A to get to the Gold layer. As long as you create some sort of perforation on the top layer, you can make many different layers of cuts until you get to the Gold layer. If you cut all the way through, that's okay! Just place strips of red tape over the cuts on the inside of the wallet. Wait until you are completely done, though, otherwise your wallet will end up thick and unwieldy if you throw some tape in it with every cut you make through the wallet.
Once you have cut out your stencil, remove the paper and the tape of the stencil and start peeling away the layers.
Using your razor blade, you can continue to make precision cuts as you go along, and use it to peel off the pieces of tape. There will be some pesky strands from the tape. Do your best to either:
A. Cut them.
B. Use your razor to tuck them underneath the COLOR A layer of tape
C. Use a tweezers to pull them off.
D. If you have a Gold marker (preferably Sharpie, if they have those), you can color them gold. I have done this before on other projects, and it cleans the look up nicely.
This part can also be tricky, because depending on how you put your wallet together, half of the Badge area may have 4 - 5 layers of tape above the gold. If that's the case, be sure to cut off any layers of COLOR A in between the Badge that make it look awkward. If it's very thick to the right of the bade, that's okay! As long as the layers are even when looking at the badge itself.
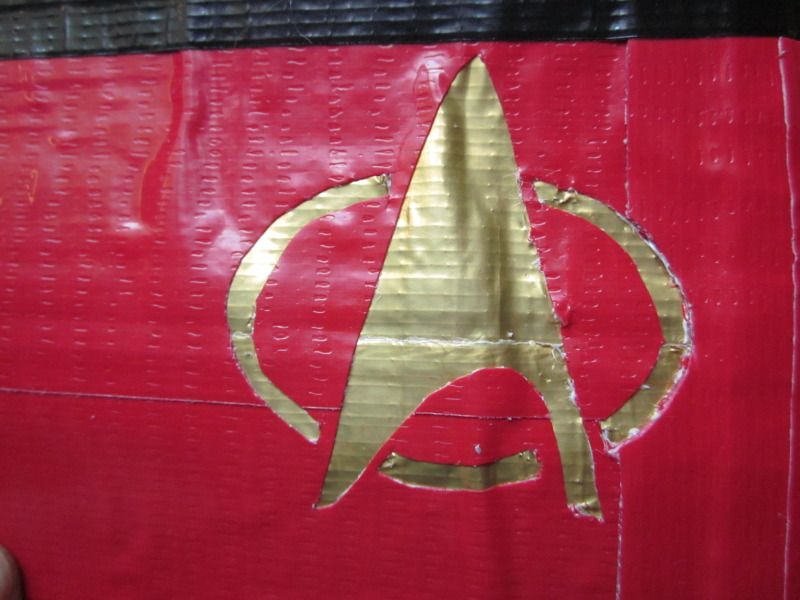
As you can see, very close to the right edge of the bade, there is an extra layer, but there are no excess layers otherwise. You can also see that this is not the cleanest Badge! When working with small stencils like this with duct tape, your image won't be as clean as it would be if your image was larger. Don't fret! If you find you're having a lot of problems, work bigger! Try doing a Com Badge as big as a piece of paper to get a better feel for duct tape.
So now we're almost finished.
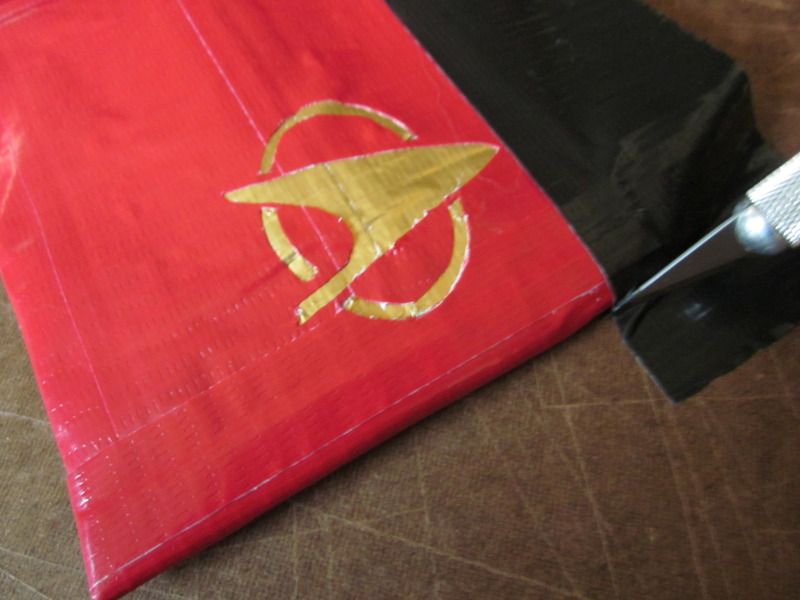
Lastly, take a long strip of black duct tape, and cover the top 1/2" or so of your wallet. Cut it at the ends, and fold over so it goes into the inside area of your wallet where you keep your money. If, when cutting out your Com Badge, you sliced through your wallet, now would be a good time to patch up any cuts you made with your COLOR A duct tape.
Phew! All done!
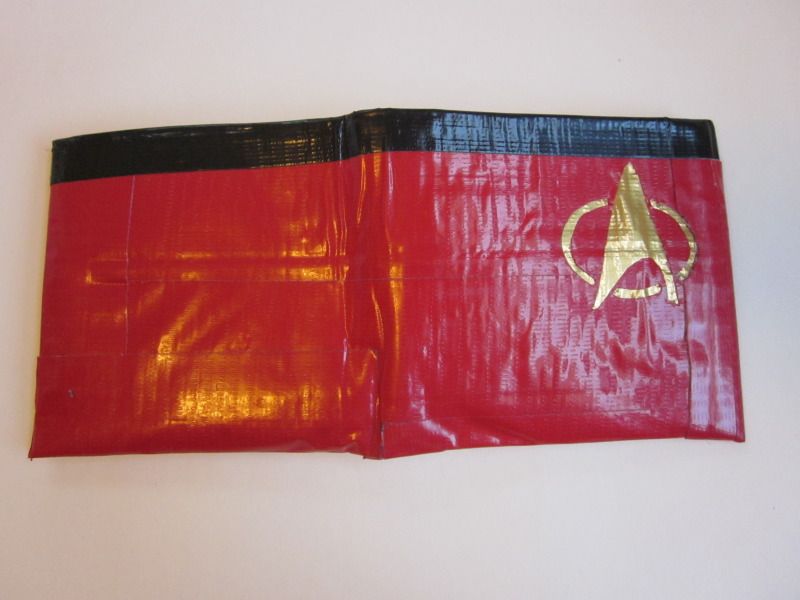
The way I made this Com Badge is more or less how I make a lot of my duct tape art (by covering a color, then cutting through to reveal it). Now that you understand this technique, are you going to use it on other wallets? Framed pictures? Something else that's totally cool? Let me know what you make!
Up next: What I've been up to Post #2! This includes some Sailor Moon inspired gear, another geeky wallet, some hats and a purse! I can't wait to share with you guys.
After that: It's NaNoWriMo once again! Is anyone else participating this year?! My SN is CaffeinatedTarantula, feel free to add me as a buddy!
No comments:
Post a Comment