Then again, when you're 14, dress in a lot of black, only listen to obscure Japanese rock, and have an offbeat 'religion', you can't really say too much without being put under the microscope about how 'weird' you are. You'd be a little defensive, too.
I took it very seriously, too. I never tried to curse people, or hurt anyone, but when I got a headache, I tried putting a cucumber peel to my forehead, I picked up Tarot reading (which I still do) and I even had a little chant if we couldn't find our car in a parking lot. I collected herbs and stones, memorized their magical properties, and had a green book with thick parchment paper where I used a matching green pen to write down everything I needed to remember. It's actually the only notebook I ever filled to the very last page.
I would get frustrated around Halloween, when I saw fake bottles with labels on them for "Eye of Newt" and other 'crazy' witches brews, and I found myself even more annoyed at the people gobbling them up, picking them up with their sweaty, unmagical hands screeching out "Look honey! Eye of Newt! This sounds scary! Hope we have $8 to dole out for it!".
These people didn't know anything. If I could have, I would have cleared off a shelf of bad Halloween party favors and yelled everything I knew about magic and Wicca at them, and they all would have second thoughts about buying fake novelty potion bottles. They could learn something, enrich their life, get rid of headaches with cucumbers, but instead I rolled my eyes and stayed quiet. Looking back, it was actually probably the most reasonable response.
It wasn't until Harry Potter and the Chamber of Secrets that this started to change. After forcing myself to hate the first movie (and book), due to my principles of knowing strictly what witchcraft was, is, and should ever be, I refused to indulge myself in liking something so....fake. Against my will, I went with my Dad to see the movie.
And damn was it good.
How could it be that something could go against all the rules of REAL witchcraft and be so damn clever, and fun? Well, as it turns out, it's called imagination, and taking things lightly.
And yeah, you bet I'm saying that Harry Potter helped me lighten up.
So now, around Halloween time, I look around my apartment, at the fake potion bottles, the scene setters, the bad party favors, and it looks DAMN good every year. I just don't have any bottles labeled Eye of Newt, because the fact that I know what I'm talking about has not changed, now I can just deal with people who don't. Afterall, I can't judge anyone anymore, not after all the morals Harry Potter instilled in me.
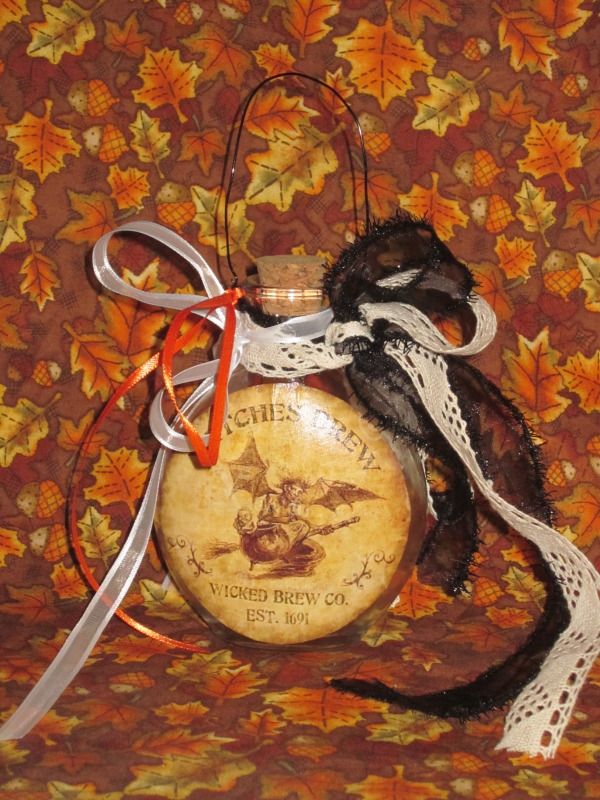
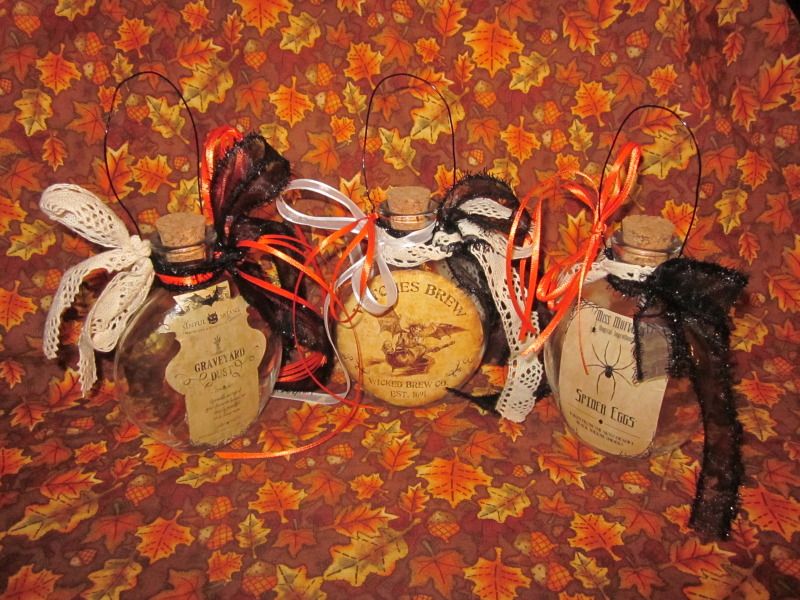
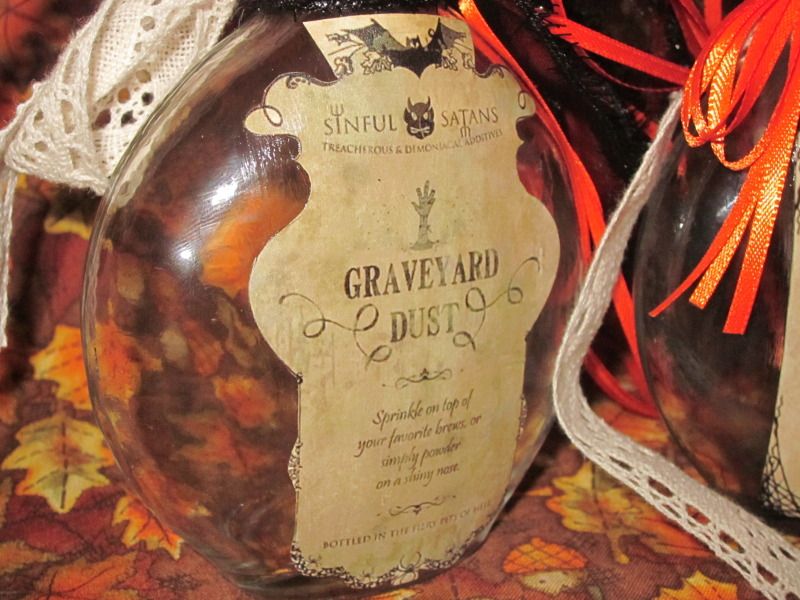
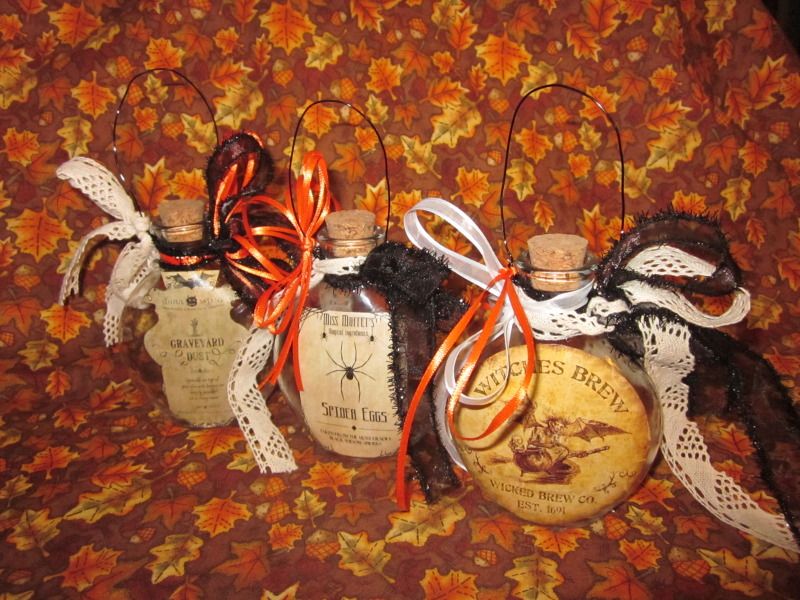
Want to make some awesome fake potion bottles for yourself for the upcoming Halloween season? Michael's is selling these for $5 each, but with a couple summer garage sales left to hit, some ribbon I KNOW you have lying around and a printer- you can make your own for significantly cheaper.
Here's how.
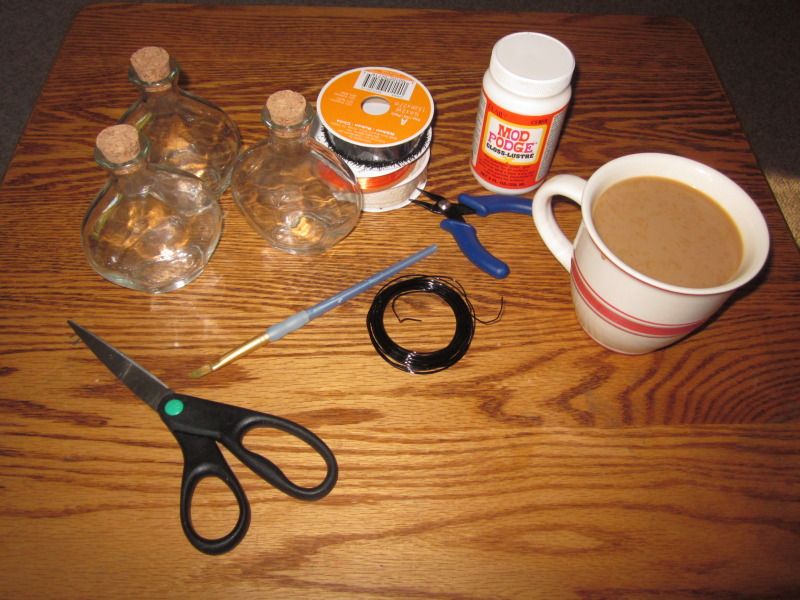
What you'll need:
- 20 Gauge Wire
- Pliers
- Empty 'potion' bottles (I got mine at Michaels for 99 cents each)
- Ribbon
- Mod Podge, and a paintbrush to apply said Mod Podge
- Potion label images (I found mine online, and printed them off with NO intent of selling them (in case you are thinking about yelling at me!). Otherwise I know Martha Stewart has had Halloween labels on her website in the past). If you design your own labels, I'm sure Etsy will be kind to you in the near future ;)
- Coffee, obviously.
- Optional: Things to fill them with! I have not dealt with this yet, but as Halloween approaches, I may put some thought into it.
How to do it:
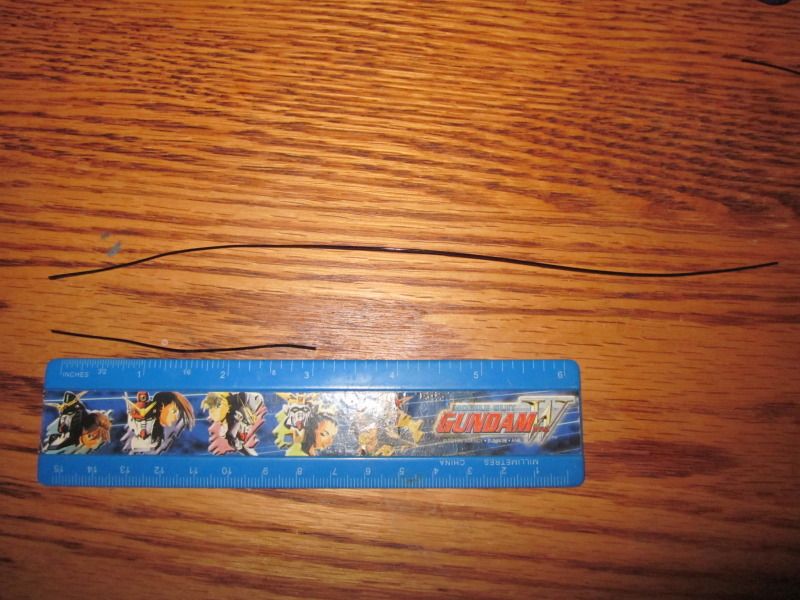
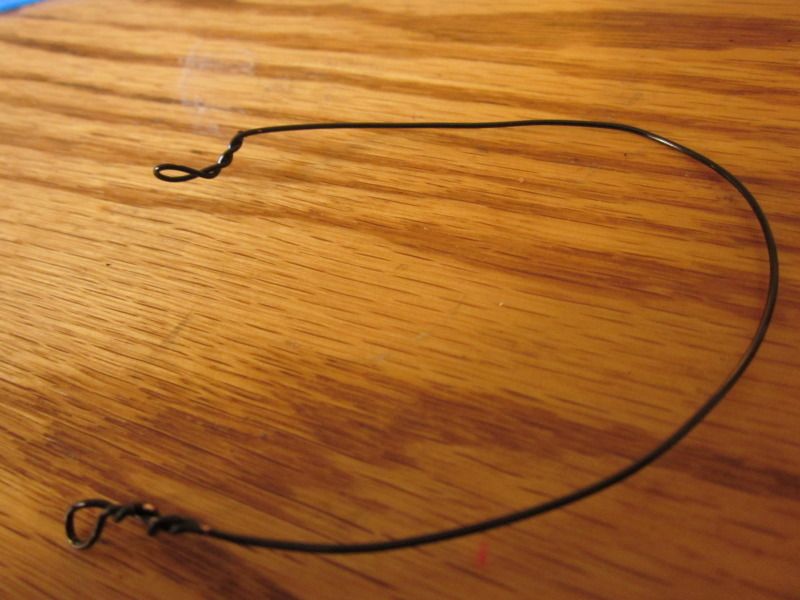
1. Cut two piece of wire, one about 3" long (This is to wrap around the neck of your bottle, so make sure it is long enough, with some extra slack) and the other one about 7" long (This will be the wire you will actually see/wire to use to hang on nails, etc.)
2. Bend the longer wire to form a U-shape. Using your pliers, bend about 1/2" of wire to wrap around itself a few times. Leave a small opening, as you will be putting the smaller wire through this.
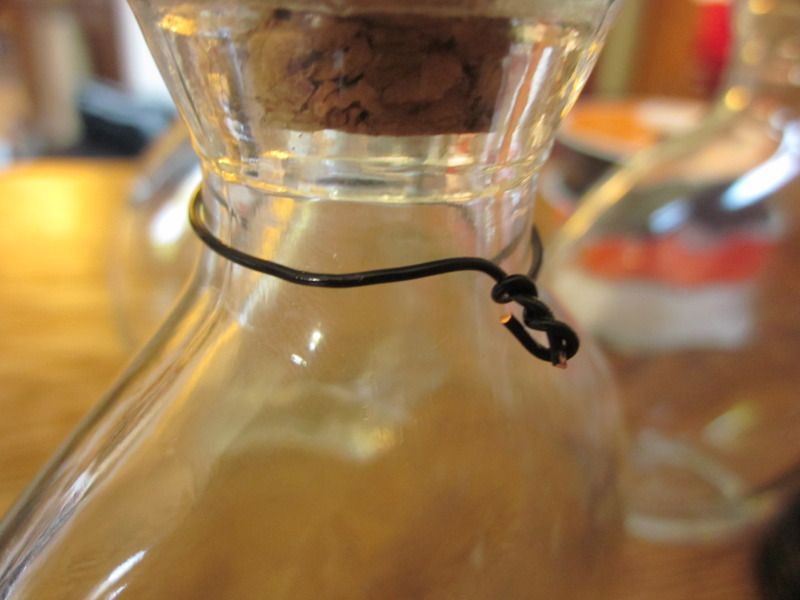
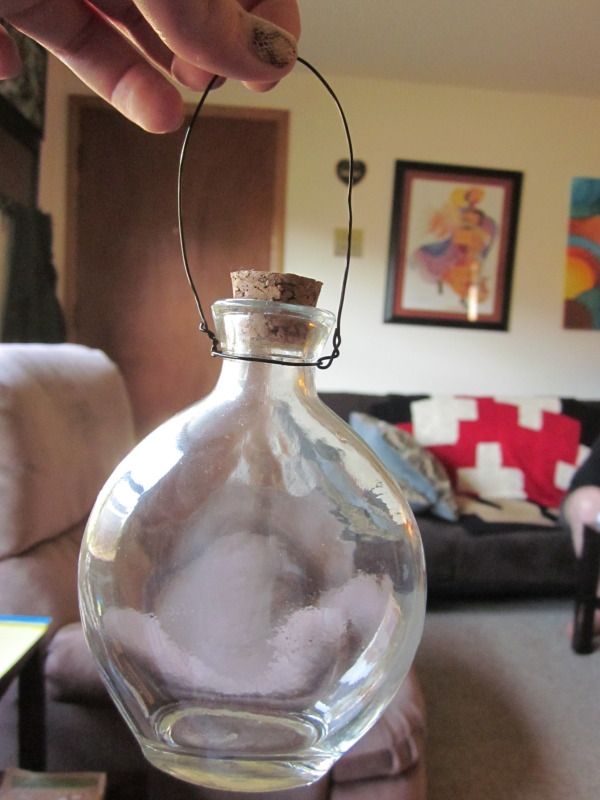
3. Slip the smaller wire through the two loops at the end of your U-shape. With all of it as one 'piece', wrap the smaller wire around the thinnest part of the neck of your bottle. Use your pliers to twist the extra wire around itself, then push down towards the neck to lie as flat as possible. It's okay if this isn't perfect, you'll be covering it in ribbon, just make sure it's wrapped tightly enough so that it won't come undone.
Now you have a good base! Here's where the fun stuff REALLY starts.
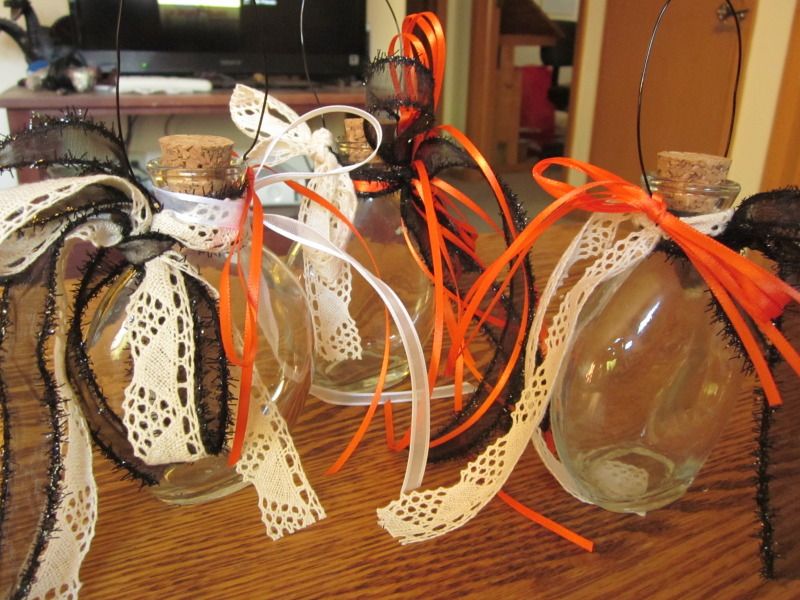
4. Wrap the neck of your bottle with ribbon. You can use as much or as little as you feel it needs. Personally, it turns out I'm having some kind of love affair with ribbon, because I went way overboard, and I'm not looking back. I also tied some around one (or both) sides of the 'handle' for some extra fluff. I think the only REAL 'requirement' is hiding all the icky twists in the wires. Once those are hidden, you're golden.
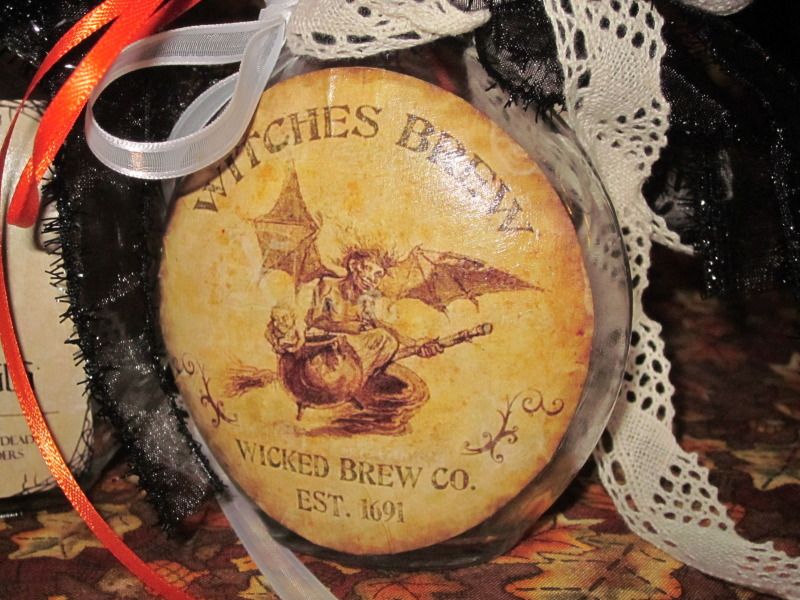
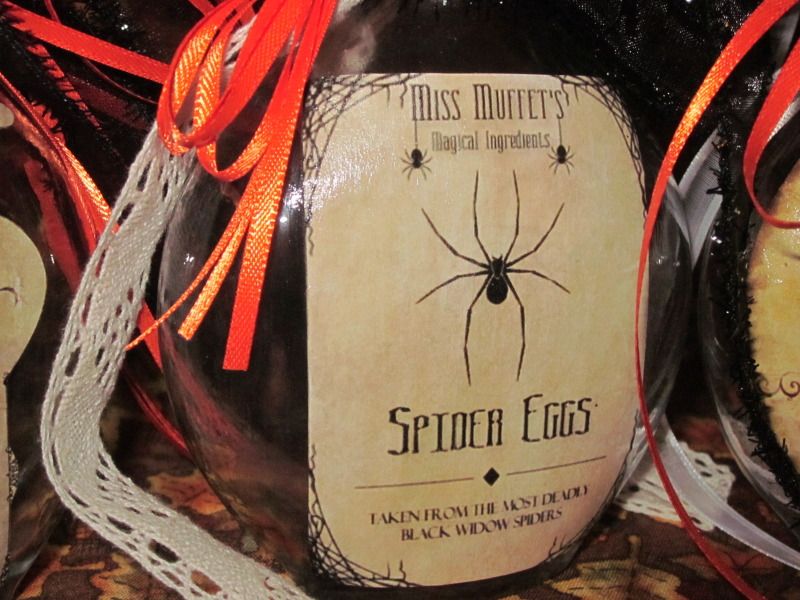
5. Now make sure you have a good label printed out in the size and shape you think will be flattering for your unique potion bottle, and cut that sucker out.
6. Mod podge it on. Wait for it to dry, cover with a coating of mod podge.
7. Display proudly, knowing that you are not taking yourself too seriously, and you saved a couple bucks!
Are you filling your bottles with any potions, real or fake? What are you using, what kind of crafty concoctions are you coming up with?
